Here you will see how to finalise your activity products once created.
After you have created your activity product, you can access the activity page.
Go to Products > Activities > select your activity
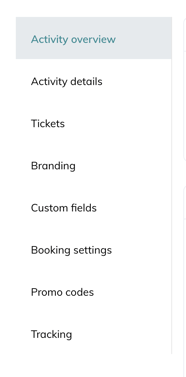
1. Activity overview page
Here you have the overview of your activity. 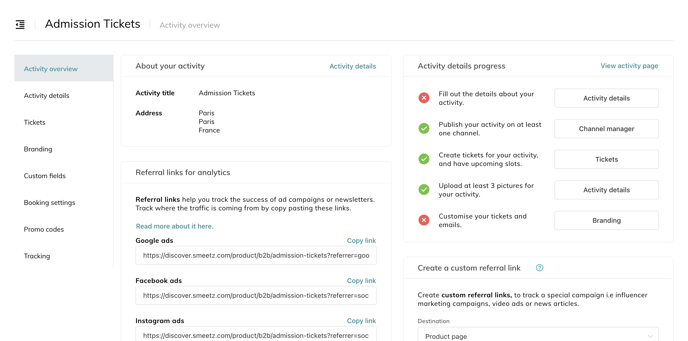
You can:
-
Add referral links for analytics: Once your product is created, share its link on all your distribution channels. You can customise your referencing links to know the origin of your sales. For more information, have a look at this article.
- You can also create a custom referral link
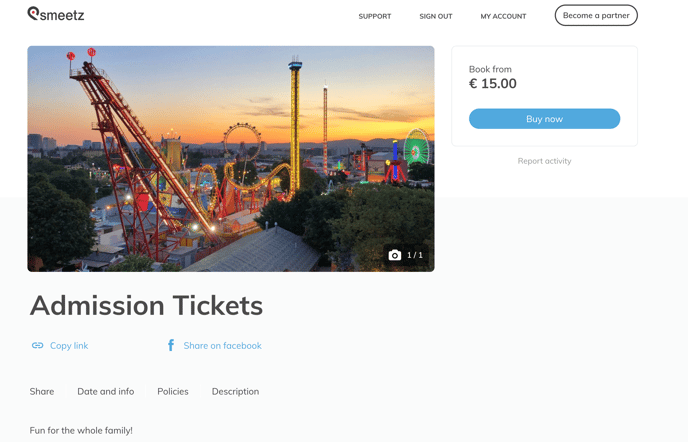
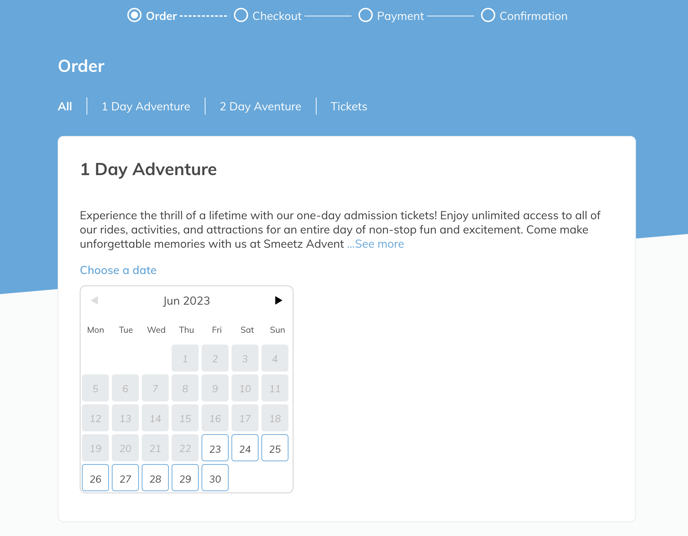
- You can have a preview of the booking flow. Click on "View activity page" (See image below)
 |
 |
2. Activity details page
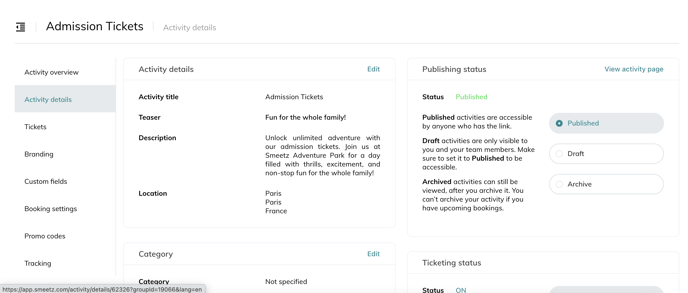
Here you can:
- Edit the activity details
- Choose the category of your activity
- Add highlights (those will be used on discover.smeetz.com if you use it as a sales channel)
-
Set the visibility of the product
-
Publishing status
-
Published: visible and open for sales
-
Draft: visible but not bookable and the product is able to be edited
- Archive: Not visible, bookable or able to be edited
-
- Ticketing Status
- On: the ticket is bookable
- Off: the ticket is not bookable
- Sold out: the ticket status indicates that it is sold out
-
- Add pictures (those will be used on discover.smeetz.com if you use it as a sales channel)
3. Tickets page
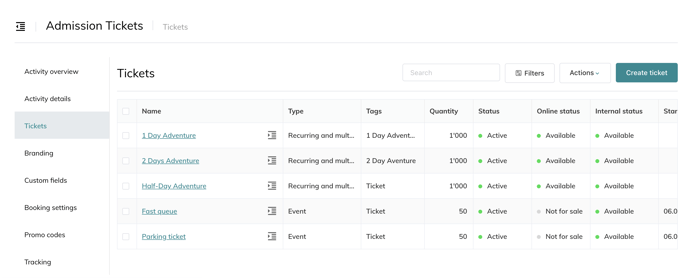
Here you can access all the tickets of that product.
4. Branding page
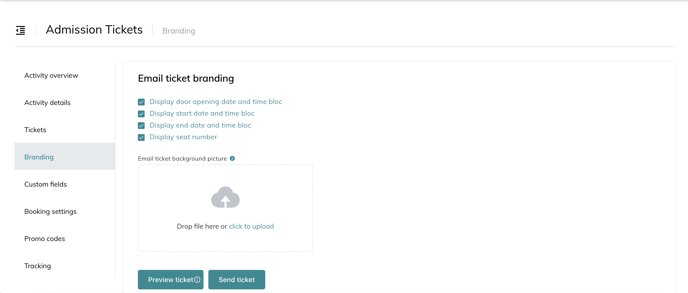
Here you can setup:
- Email ticket branding
- Apple Wallet ticket branding
- Google Pay ticket branding
- Thermal ticket branding
Read those 2 articles to fully brand your products, tickets and emails.
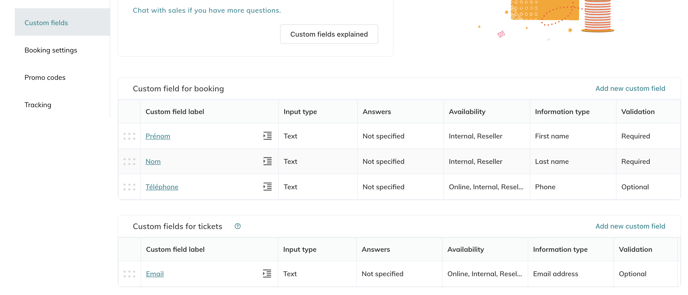
5. Custom fields page
6. Booking settings
- Here you can decide if the Smeetz Pay fees are charged to the customer
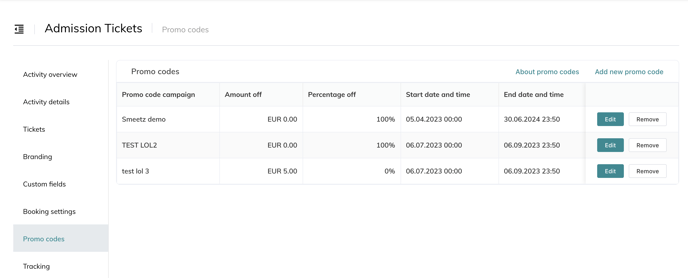
7. Promo codes
8. Tracking
- Here you can add your Google Analytics ID

