This article will explain how to create and design a booking widget on your Smeetz account.
Go to Channels > Booking widgets > Create
OR
Create > Booking widget
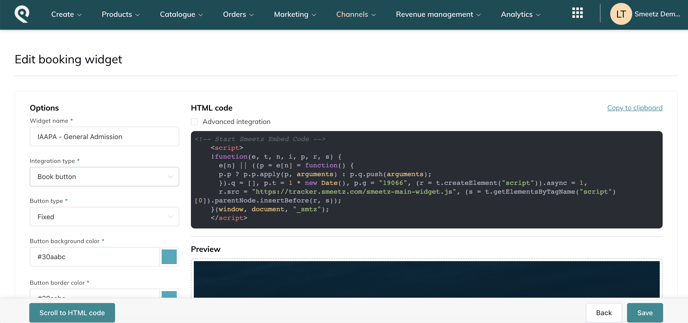
Fill in the following fields under "Options":
- Widget name: this name will not appear publicly, it allows you to recognise your booking widget in your Smeetz account.
- Integration type: you can choose between 5 types of widget
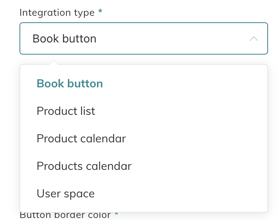
-
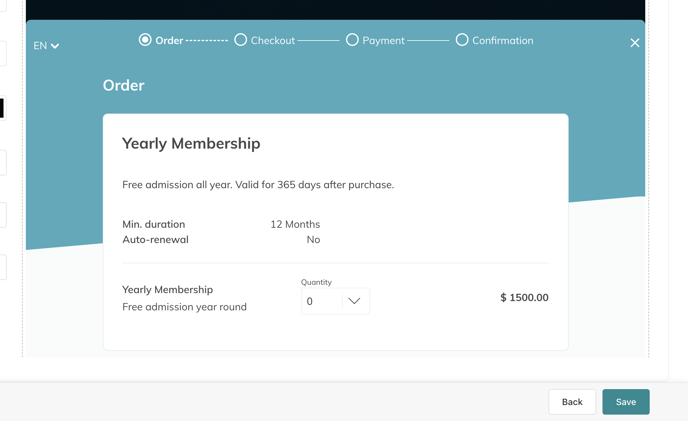
- Book button: the customer clicks on a button on your website, a box opens on top of your webpage, and the customer can see the tickets and availability of a single activity/product
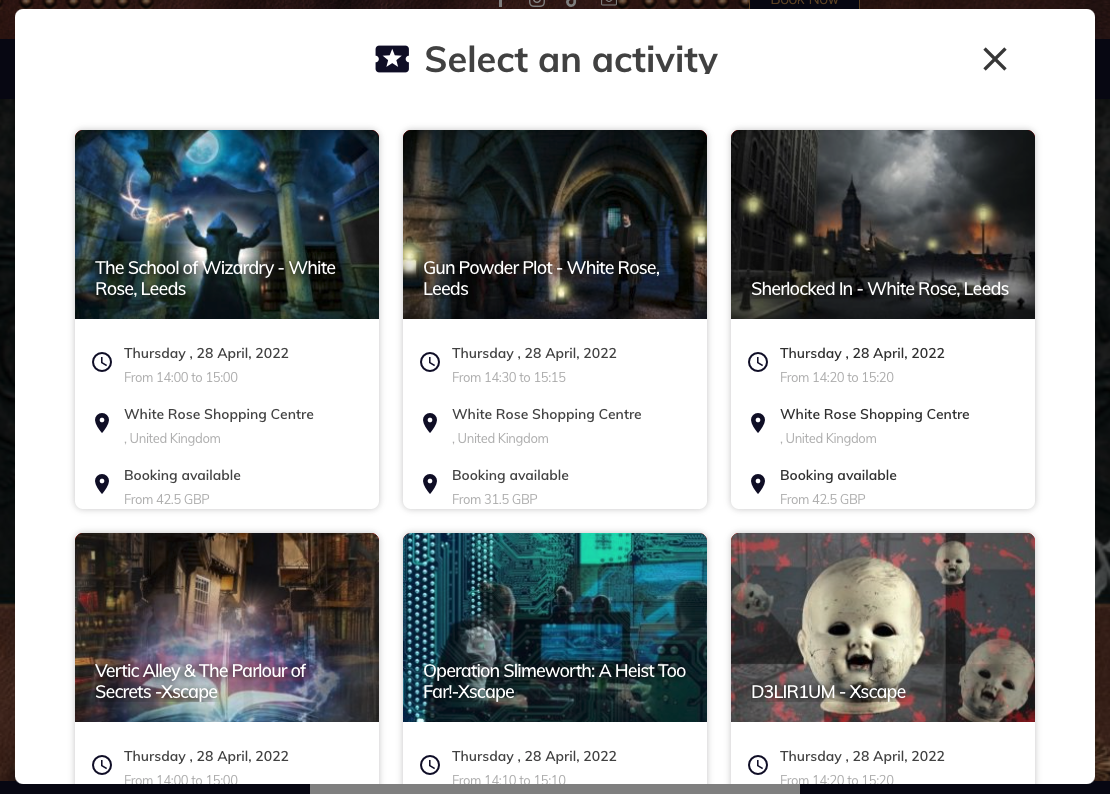
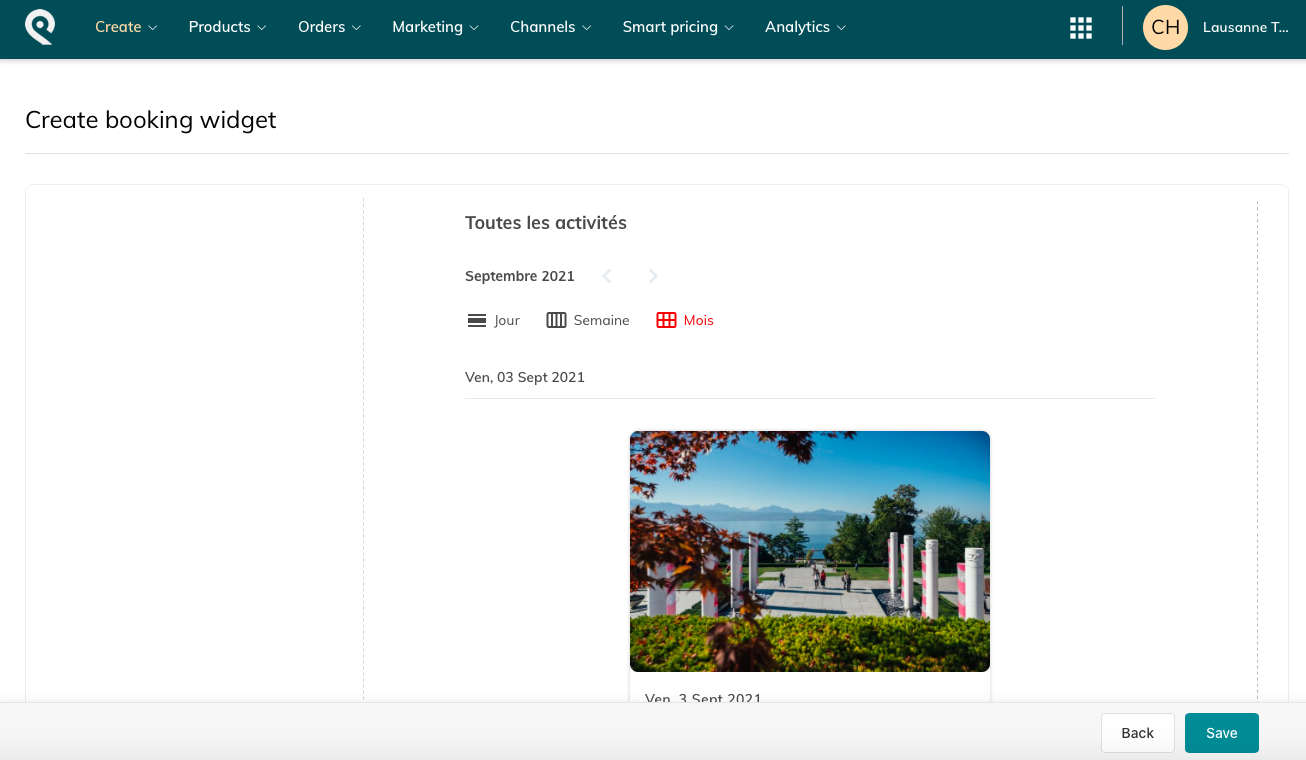
- Product list: the customer clicks on a button on your website, a box opens on top of your webpage, and the customer sees a list of activities/products to choose from. The customer clicks on a product and the widget moves to the booking process.
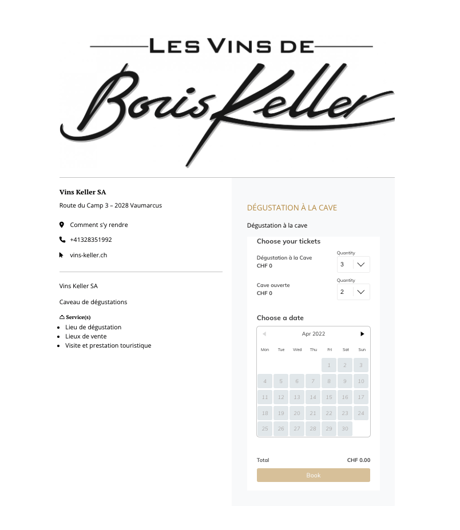
- Product calendar: the chosen activity/product appears directly on the web page. Once the customer chooses the ticket/date, the widget opens to finalise the booking.
- Please note that this type of integration does not work with add-ons.
- Please note that this type of integration does not work with add-ons.
- Products calendars: the selected activities/products appear directly on the web page, sorted by day, week or month. The customer clicks on a product and the widget opens for booking.
- Book button: the customer clicks on a button on your website, a box opens on top of your webpage, and the customer can see the tickets and availability of a single activity/product
- Button type: when there is a booking button, it can be
- Fixed: this button is fixed in one area of your webpage
- Floating: this button moves as the customer scrolls down your webpage and is always visible
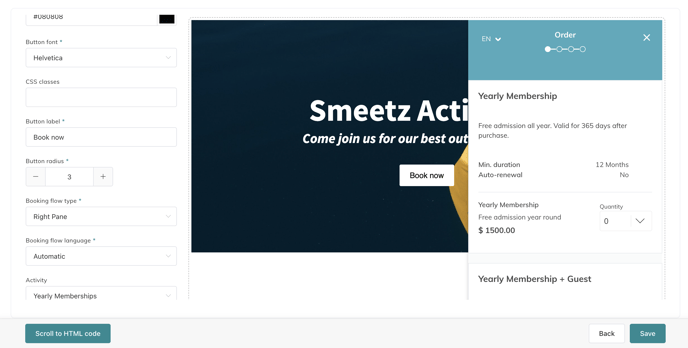
- Colours and font: you can customise how your book button appears on your website (click OK when the selection is made)
Choice of colour: The HTML colour code allows you to choose the colour of the background, border and text. You can easily find a full list of HTML colour codes online.
- Custom CSS: If you have a custom design, you can insert it here. However, make sure to directly write it in CSS
- Button label: This is the text that will appear in your booking button, e.g. "Book Your Tickets"; "Book Now"
- Button radius: Decide on the roundness of the edges of your button
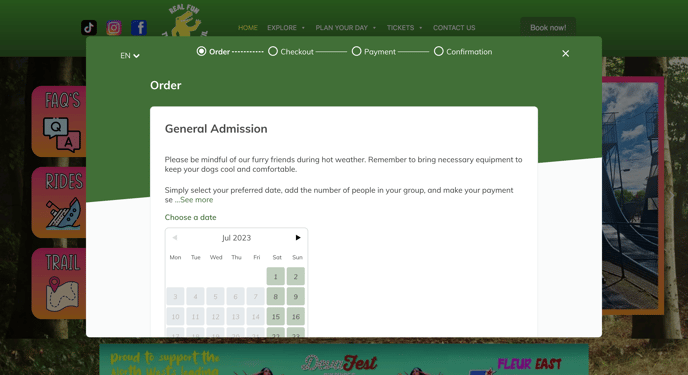
- Booking flow type: This indicates how your tickets will appear once someone has selected the booking button, you will have two options:
- Lightbox: A modal view with your product and ticket choices will appear in the middle of your screen
- Right panel: A panel with your product(s) and ticket choices will appear on the right side of your screen
- Lightbox: A modal view with your product and ticket choices will appear in the middle of your screen
- Booking flow language: Choose the desired language or choose automatic
- Activity and tickets: Choose the activity and then the corresponding ticket, if you do not select a specific ticket, all of the tickets within an activity will automatically be included
- Retail product: include retail products if you need
- Membership type: if your booking flow is for memberships, select if you want to only sell memberships or propose the purchase of a single ticket as well
- Custom link: If you wish to provide a custom link at the end of the booking
- Shopping cart: The possibility to integrate a shopping cart to your widget, so that your customers can buy different products at once. Please contact our support team for more information: support@smeetz.com
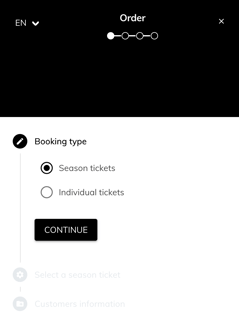
On the right side of the page, under Preview, you will be able to see the design and test out the booking widget.
We highly recommend you to test everything on the fields on the right side of the page before you copy the HTML code. Make sure that everything is working and according to what you desire.
Read this article for more info on how to install the booking widget on different websites.