This article outlines the steps and processes to be taken when scanning tickets.
1. Connectivity and compatibility
Your phone or scanner should have a stable WiFi connection or a good 4G/5G network.
iOS 12 ou +
|
Android 9 +
|
2. Setup the scanner
Please download the Smeetz webpage on your phone or scanner. See the following link for more information: https://knowledge.smeetz.com/en/install-app
- Once logged into the app
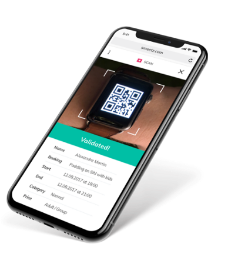
- Go to the 9 small squares next to your initials
- Click on "Ticket scanner"

- Fill out the product and ticket filters if you need to scan only special tickets, otherwise leave them empty and all tickets will be scannable

- Select the scan type

- You can select the start/end date and time of the activity
- Note that the original settings are the date of today. You probably do not need to change those fields, unless you want to scan tickets for another day
- If you continue to scan after midnight, shift the end date to the next day
- You can also leave those fields blank

3. Start scanning
- Now you can start scanning with the camera or the laser
-
If you have a Zebra scanner it is more efficient to use the laser than the camera. Click on the yellow button on the scanner, and face the laser towards the QR code on the ticket/email.

-
Then click on "scan and validate"
-
Directly scan another ticket or press anywhere on the screen to exit the validation view
-
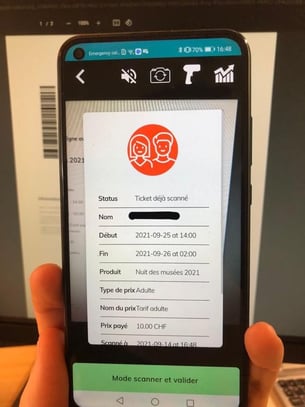
The result of the scan remains displayed until the next ticket is scanned
Here is an example of a valid scan And here is an example of an invalid scan 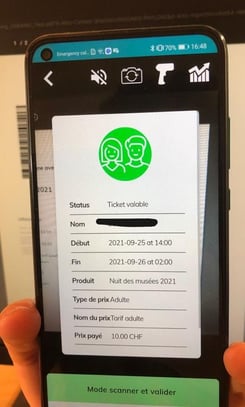
-
It is important to make sure that you scan tickets for the right day/time and the right tickets.
4. Features available on the scanner
To access the settings, click on the settings in the top right corner

1. Scan a whole booking at once
It is possible to scan all the tickets of a reservation in one scan, instead of scanning every ticket individually.
- Click on the person icon, an icon with 2 people will appear
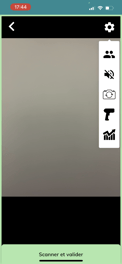
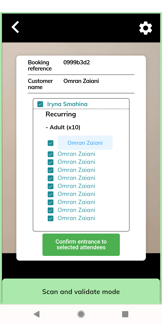
- Once you have scanned one of the tickets, you will see a list of all the tickets contained in that reservation.
- If you want to scan ALL the tickets: all the tickets are checked by default, you just have to confirm.
- If one of the participants is missing: you just have to uncheck him/her from the list, he/she will then be able to have his/her ticket scanned individually once he/she arrives at the event.
2. Mute scanning sounds
Click on the second icon to mute the sounds of scanning.
3. Turn the camera
Click on the camera icon to use the front camera.
4. Scan with the handle
If you have a Zebra scanner, you can use the handle to scan faster.
5. Check statistics on the scanner
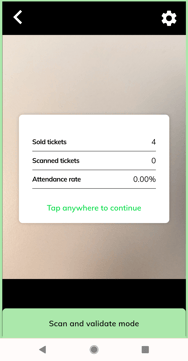
- Press the graphic symbol as shown below:
- You will then find
- the number of tickets sold,
- the number of tickets scanned,
- and the attendance rate.
