This article describes how to create tickets with a seating plan.
1. Why create tickets with a seating plan?
Some events have seats assigned to each customer to facilitate their placement. The seating plan also allows the segmentation of your offer in order to satisfy your different types of customers (ex: VIP, seating, standing, ...).
Smeetz allows you to create your personalized seating plan adapted to your event, in order to facilitate its organization.
2. Creation of tickets with seating plan
Our team is available to create your seating plan (2.), as this step can be quite complex: support@smeetz.com
- First, you need to create a bespoke seating plan and then connect it to Smeetz.
- Second, you need to create a specific ticket for the seating plan.
2.1 Creation of a bespoke seating plan
- Contact our customer service managers, who will give you access to the seating plan creator: support@smeetz.com
- You can access it from the "9 little dots" on the right > Seating plan manager
- Create your personalised seating plan.
You can refer to this tutorial to help you with the creation: create a personalised seating plan
2.2 Creation of tickets with seating plan
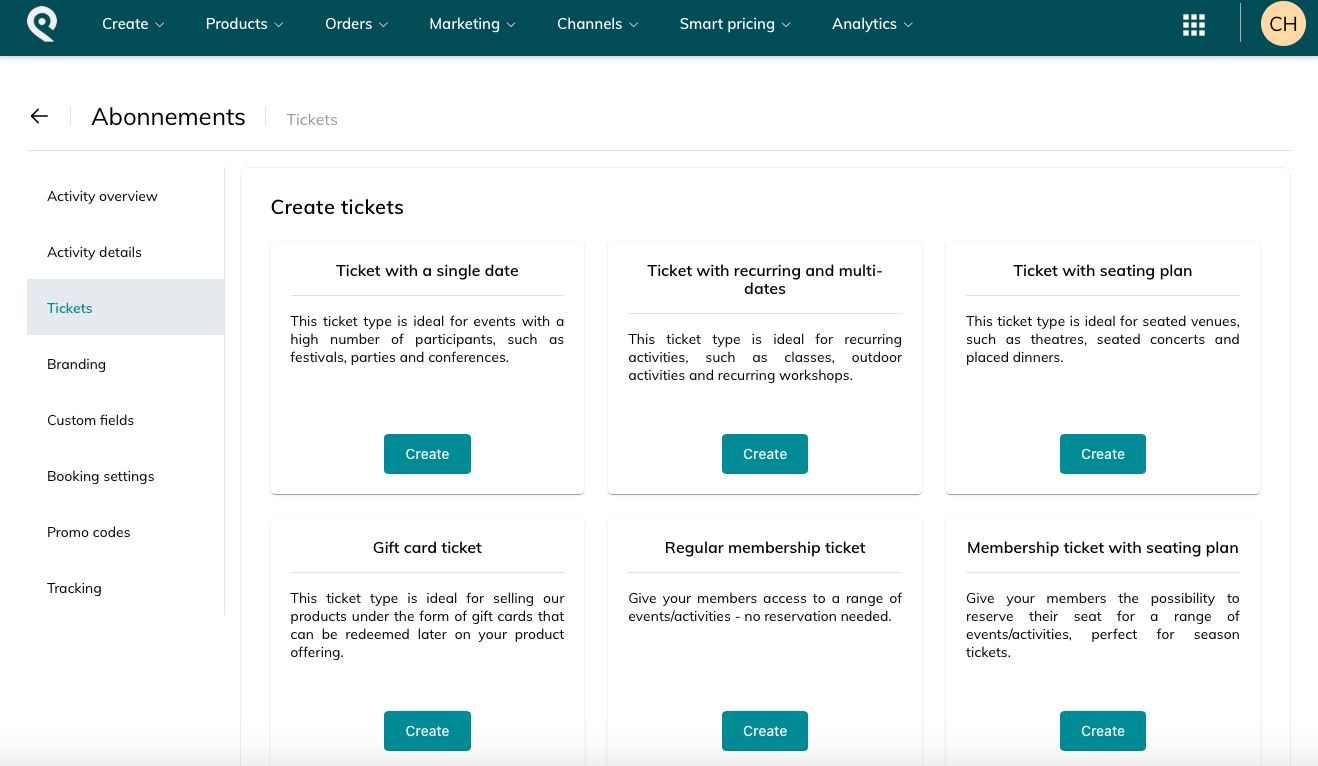
- Once you have created your seating plan, go to your Smeetz account: Products > Activities > Tickets > Create a ticket > Ticket with seating plan.
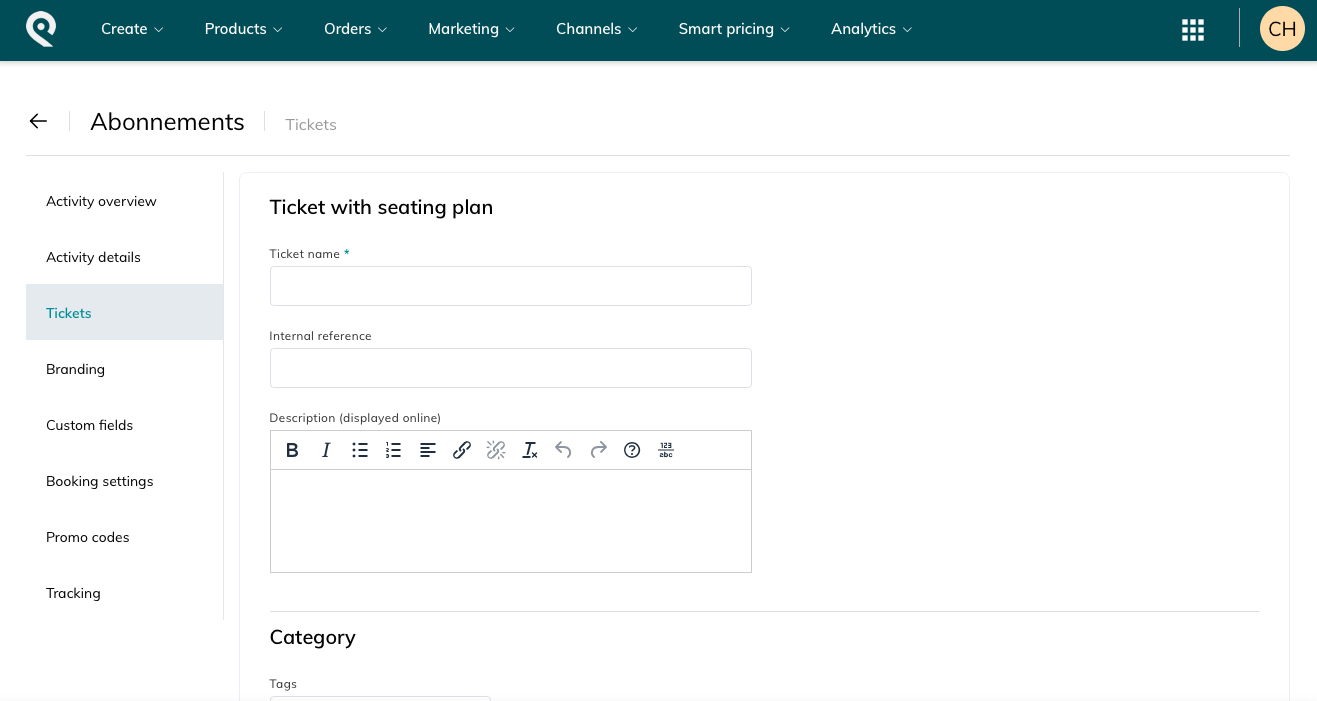
2. Then you have to insert the requested information:
-
- The name of the ticket
- Practical information displayed on the ticket
- Availability settings (online or internal)
- The date and time of validity of the ticket
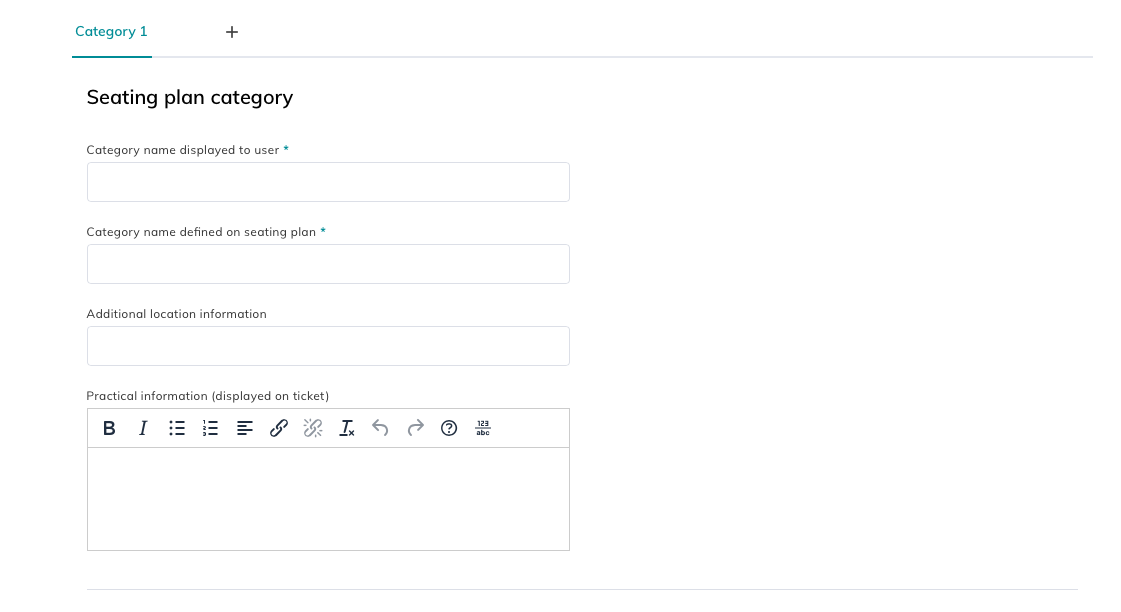
- Charts: Here you need to select the seating plan that you have created on seats.io and connected to Smeetz.
- The purchase period
-
- Fill in the description information
- Set the availability (online or internal)
- Prices
- Charge flow and confirmation
- Set the scanning
- SMS verification
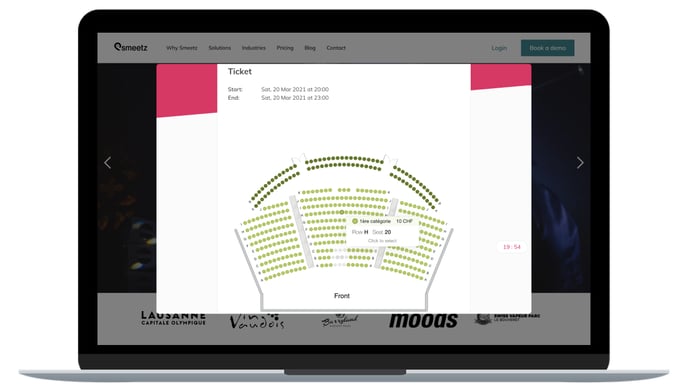
While booking, your customers will be able to choose their seat number.
Here is a preview of the seating plan: