In this article, we will guide you with step-by-step instructions and practical advice that will help you with processing payments on the POS.
1. Process a simple sale on the POS
- First, select a group of products (sales collection) in the middle. Here "Admissions" is selected.
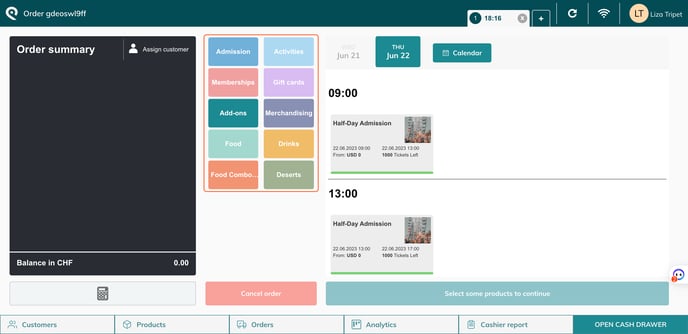
- Then, on the right, click on a product. Here "Half-day admissions" is selected.
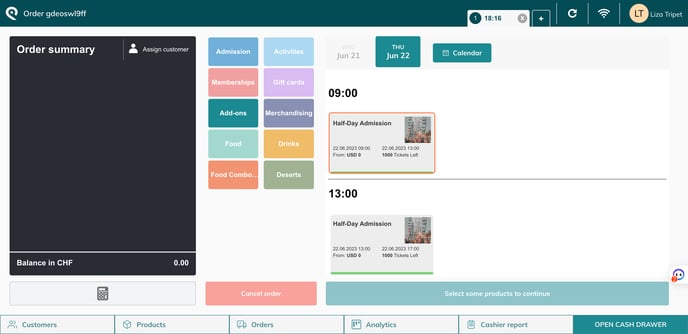
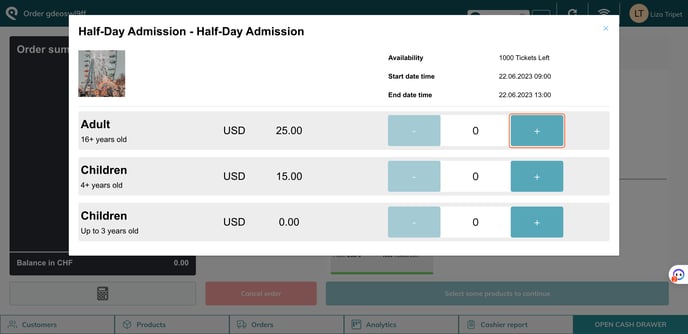
- There are 2 options to add tickets to the basket: the product will either be directly added to the basket when you click on it or a pop-up will open and you will need to select how many tickets/prices you wish to sell. This depends on your setup at the POS configuration stage.
- In the right pane, you can see your products in alphabetical or chronological order. This depends on your setup at the POS configuration stage. If there are time slots and customers want to book a future date, click on "calendar" and select a date.
- There are 2 options to add tickets to the basket: the product will either be directly added to the basket when you click on it or a pop-up will open and you will need to select how many tickets/prices you wish to sell. This depends on your setup at the POS configuration stage.
- On the left, you see the order summary with what you just added in the basket.
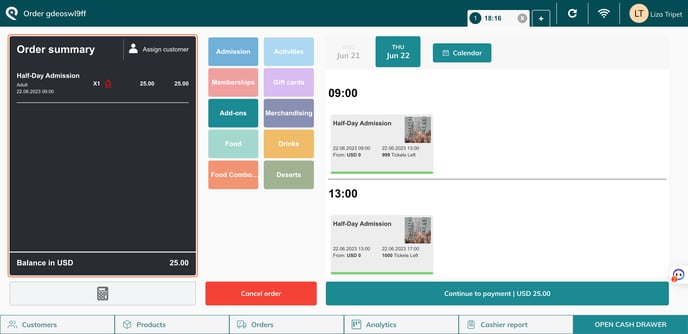
- Click on "Continue to payment".
- If you have created custom fields for onsite sales, a pop-up will appear with your fields (as optional or mandatory)
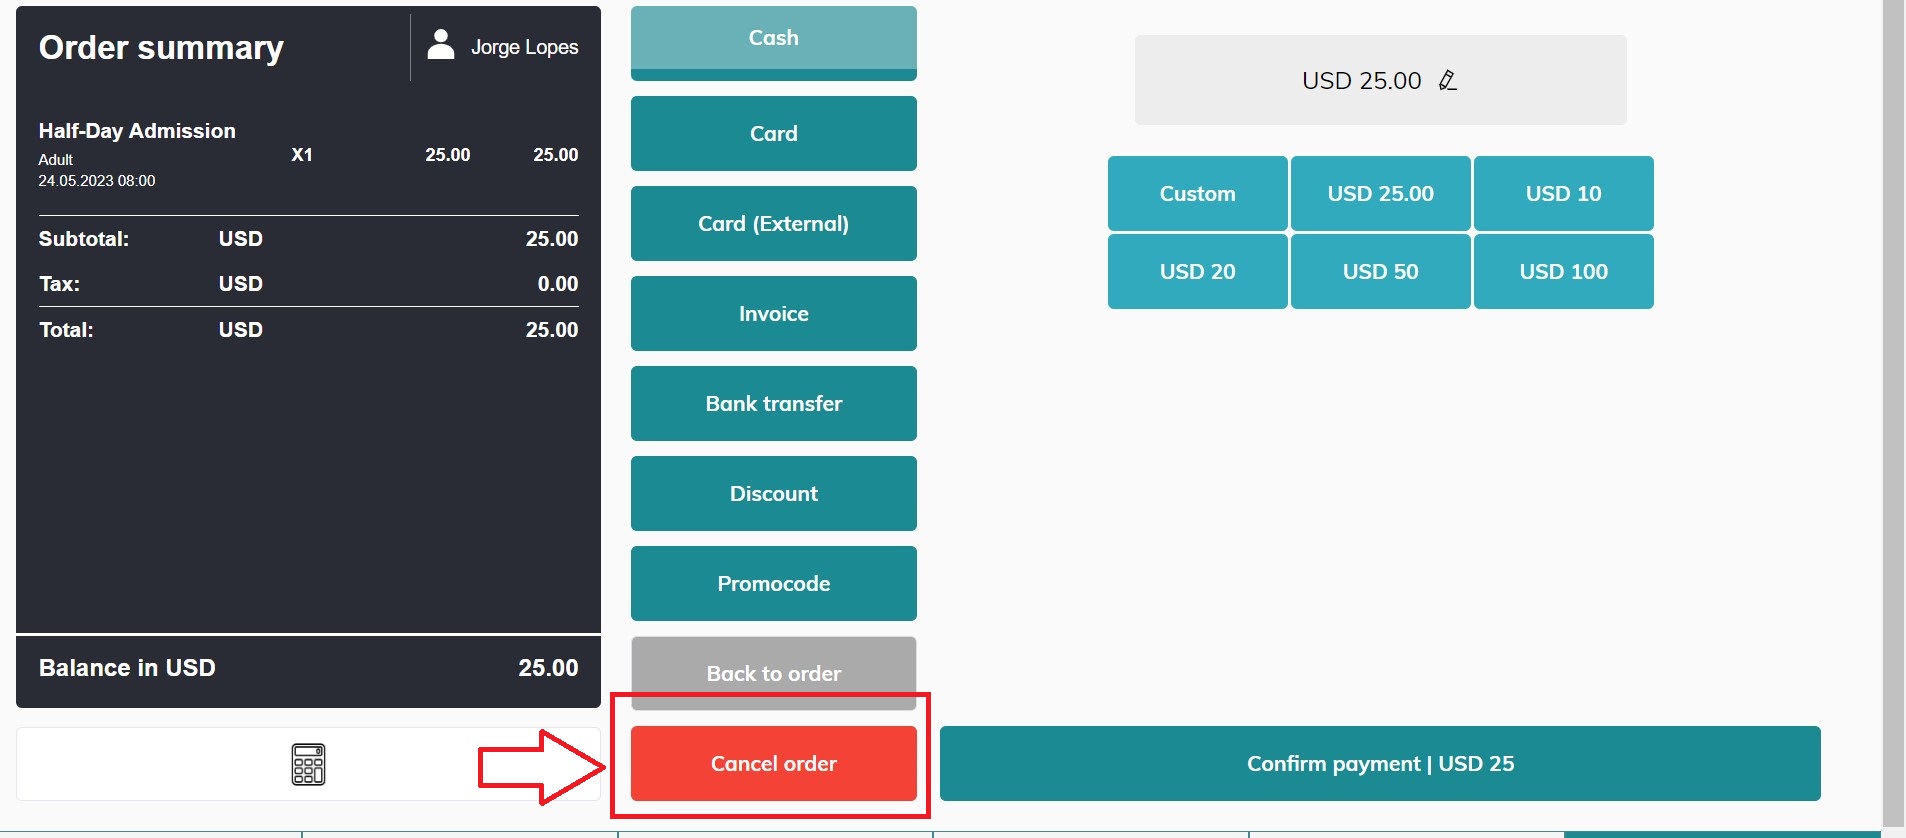
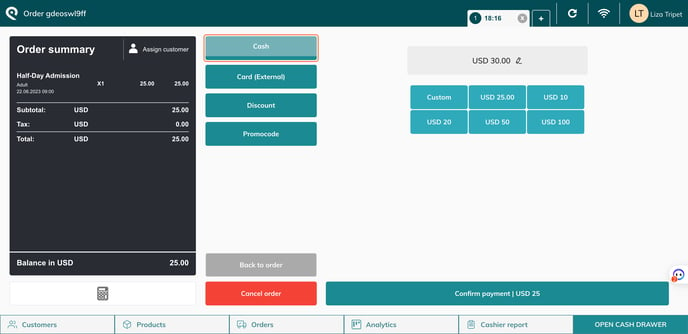
- Select the payment method.
- Remember that you can select which payment methods appear and their order in the settings (more info)
- Remember that you can select which payment methods appear and their order in the settings (more info)
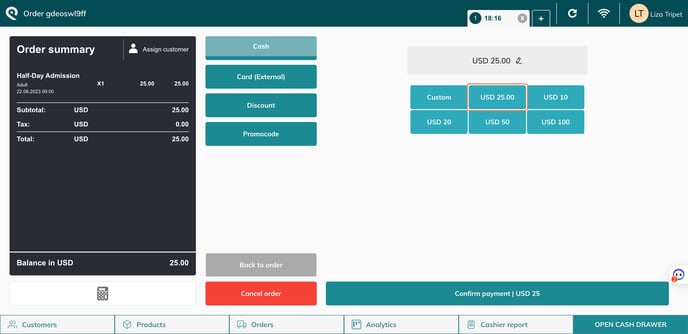
- Now you can click on one of the buttons with amounts to add the amount received by the customer.
- Or click on the text field to enter the amount manually > Click on Confirm price and then > confirm payment
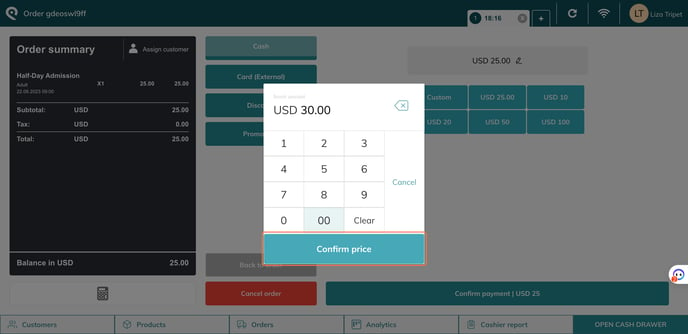
- If the amount given is bigger than the amount due, the order will be finalised on the next page. It allows you to have a summary view of the total amount of the sale, the amount paid, and the change due to the customer.
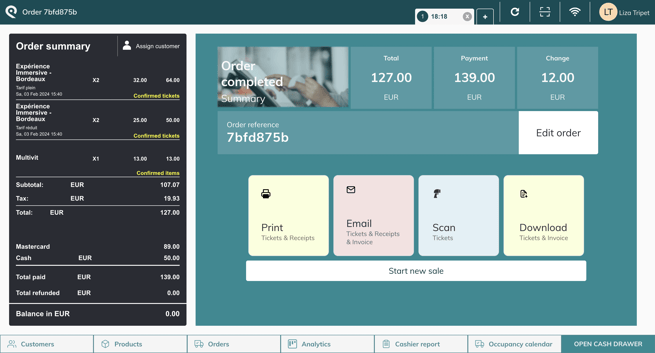
-
From this page you can:
- Edit the order
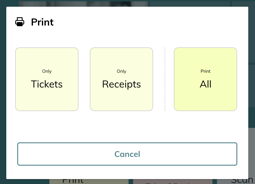
- Print the ticket and/or receipt
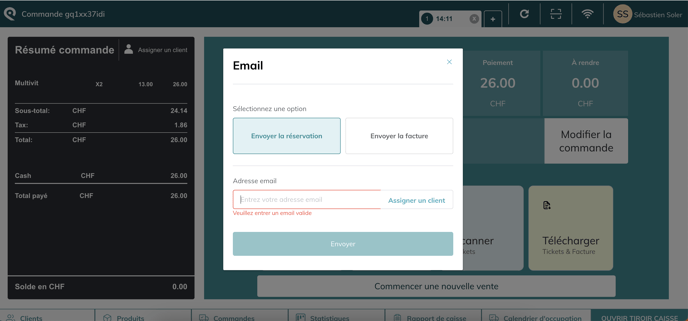
- Email the booking or invoice (it is mandatory to assign a customer to send an invoice)
- Scan the ticket
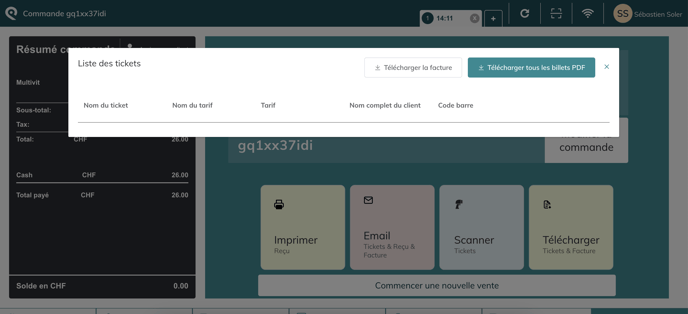
- Download the tickets (all at once, or one by one) or download the invoice
To continue with another sale, click on "start new sale"
2. Cancel a sale
You can "Cancel an order" in progress at any time.