In this article, you will see how our email automation tool works: how to create a campaign; how to create an email and how to manage it.
1. How to create a campaign
To access the email automation tool, click on "Marketing > Email" 
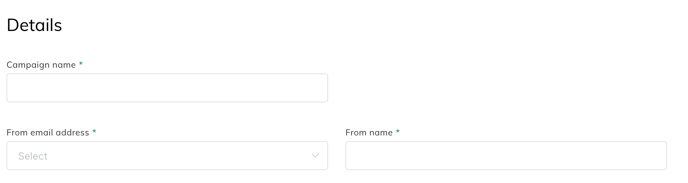
- First, you can click on "Create a campaign".
- Here you will need to enter the name of the campaign (for internal reference), the sender's email, and the sender's name.
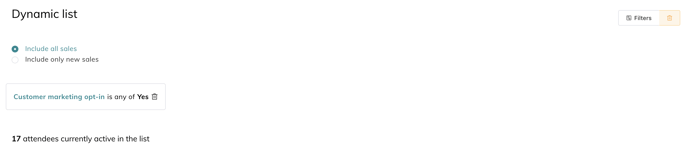
- Then you will be able to select the list of recipients.
- To do so, you can use the filters. The filter feature uses the same filters as the attendee list.
- To do so, you can use the filters. The filter feature uses the same filters as the attendee list.
- The Customer marketing opt-in is automatically set to "yes"
- This complies with GDPR rules. If you desire to send a communication about an event, that does not require GDPR compliance, you can unselect the filter
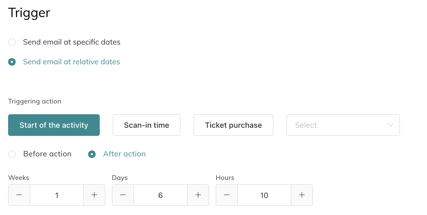
- In the next step, you will need to select the trigger of the email (When it will be sent)
- Here you have the choice to select a precise date and time
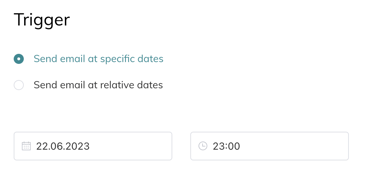
- or a specific trigger such as
- the start of the activity
- the scan-in time
- the ticket purchase
- You need to select if you want the email to be sent before or after the trigger (in weeks, days or hours)
- Here you have the choice to select a precise date and time
- That's it, you have now created your campaign, now you will need to design and create the email
2. How to create an email
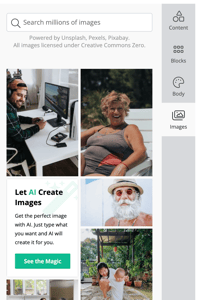
Here you will be able to use our simple editor to create good-looking and attractive emails easily.
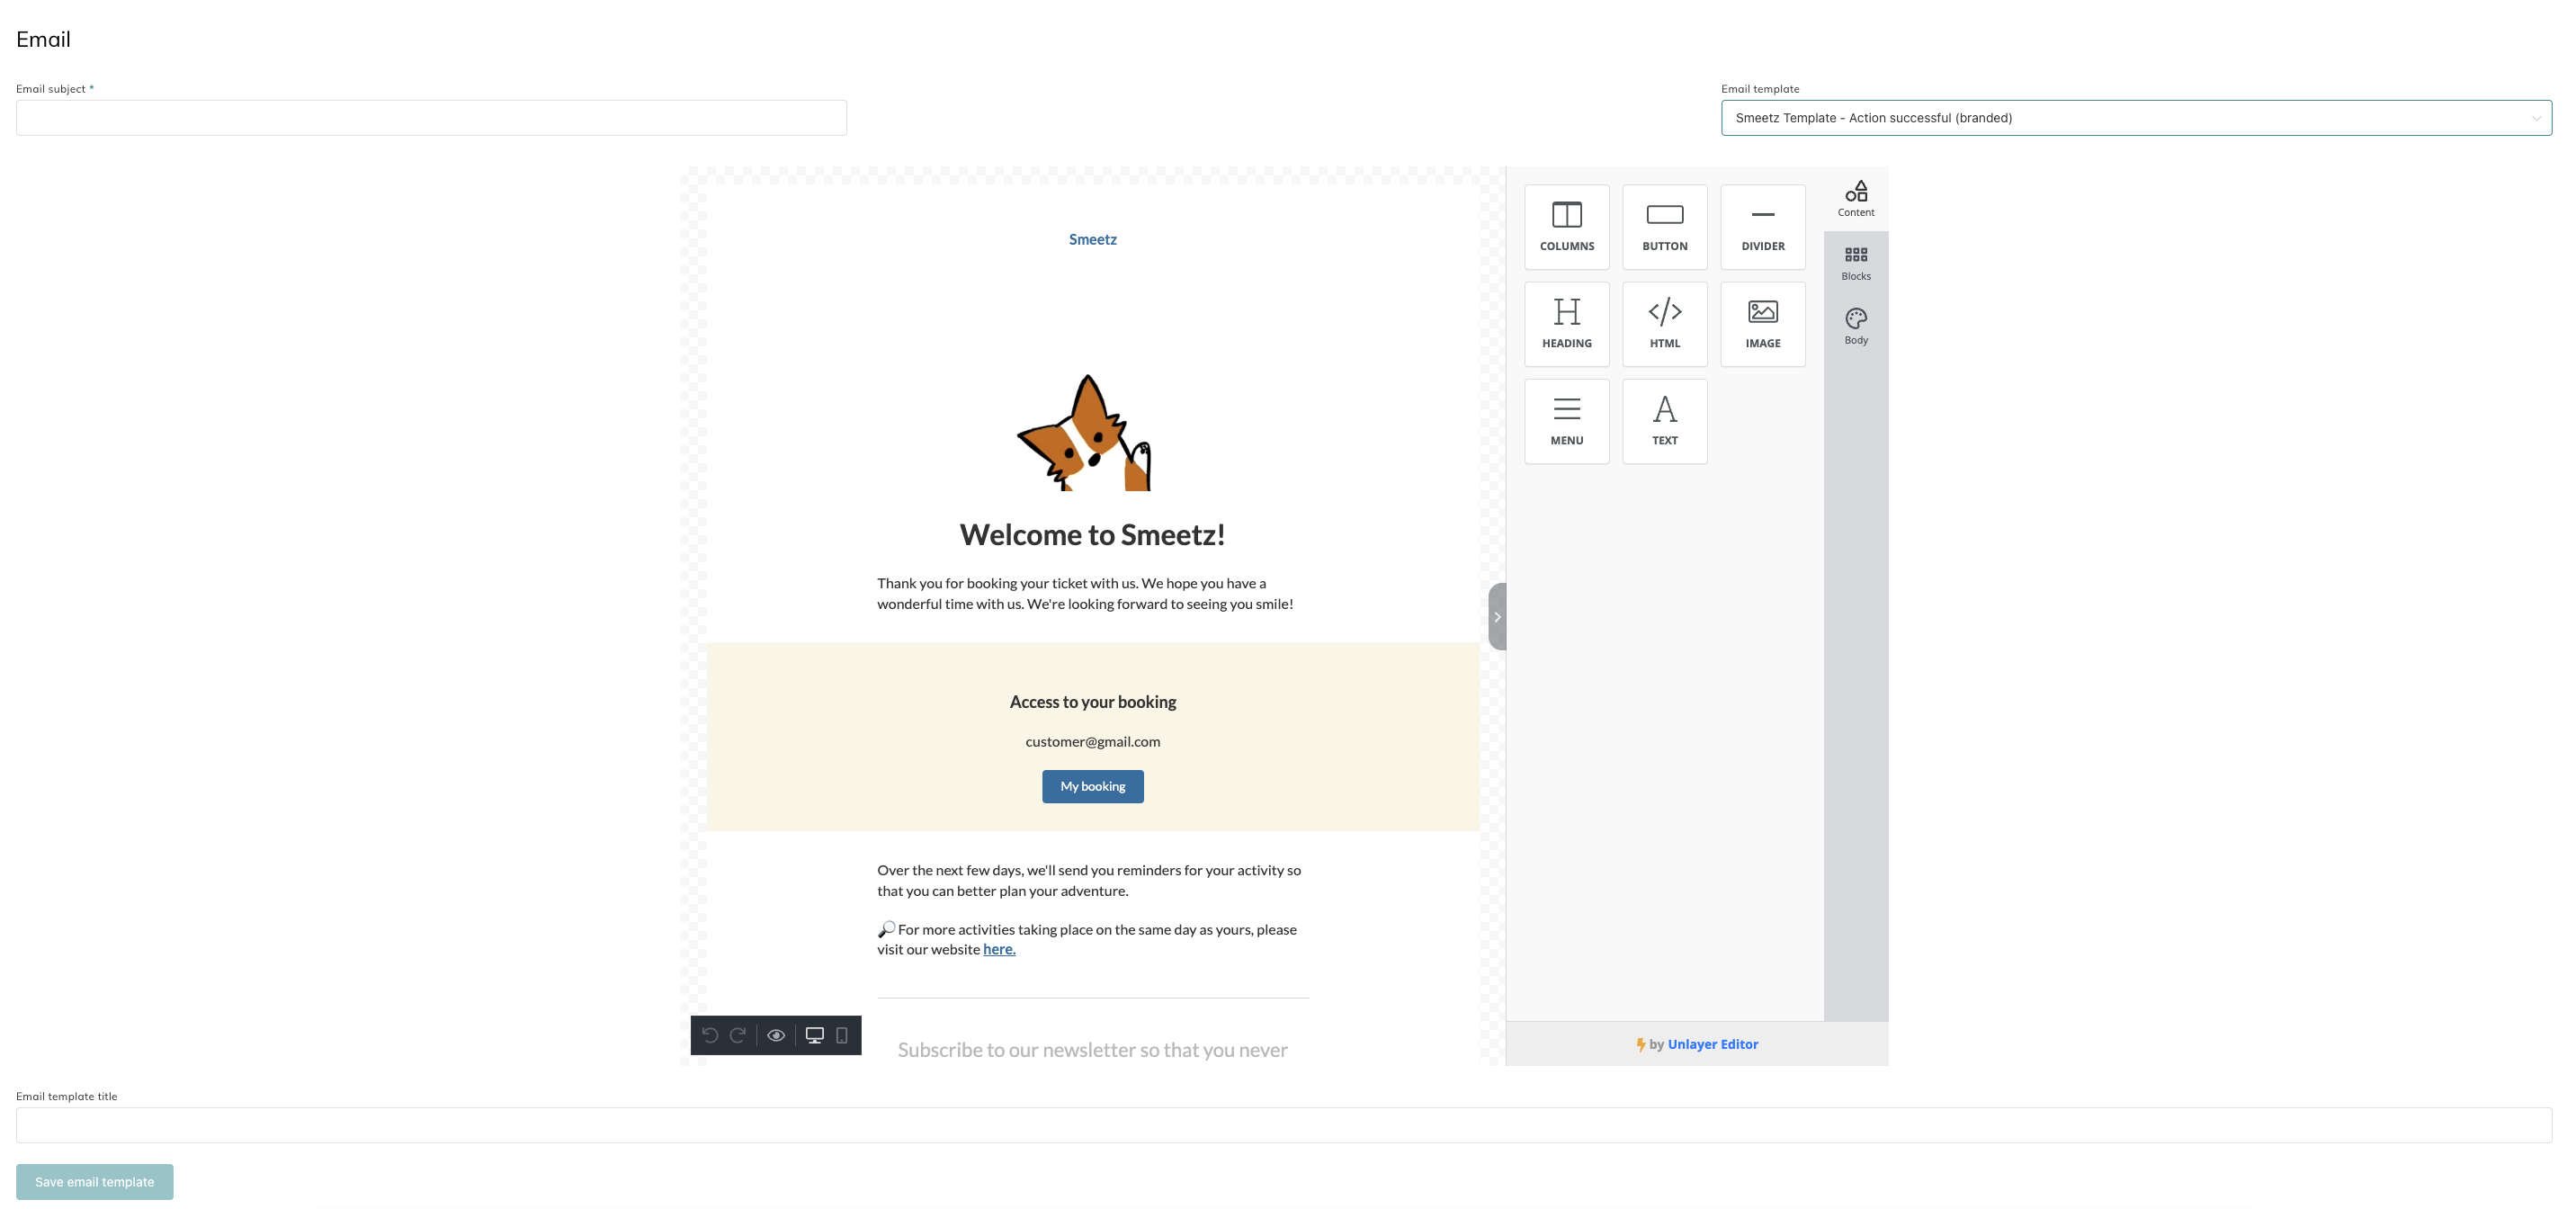
- Here you will need to enter the subject of the email first.
- Then you will be able to select one of our pre-defined templates or start from scratch.
- The email builder is a drag & drop so you click on each element and add it wherever you want!
- The email builder is separated into 4 sections. You need to start in that order to set up an email
-
-
Content
-
Blocks
-
Body
- Images
-
- At the end, you can save your email as a template
2. 1 Content
Content is where you add your specific content. Here is the list of all the available content & how to manage them.

| Columns | You can here add or modify columns to your content block |
| Buttons |
Each button will have a special URL, a target, a background/text colour, the size of the button, etc. Other layout customizations are available (position, borders, etc) |
| Dividers |
This is only for the visual aspect. Allows to divide some specific content or block sections Customization: color, size, width, alignment, etc |
| Headings |
This is meant for big titles with different layouts, fonts, and colours... |
| HTML |
This field is here if you want to embed some unique HTML code into the email |
| Menu |
Meant to add some menus with special links per menu. Important if informative content for different users |
| Text |
This is the main feature to add text content. You can custom everything like a text editor |
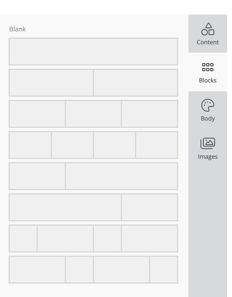
2.2 Blocks
This is where you set up your template layout
-
Divide special sections 1, 2, 3, or 4 with a special layout
-
Each block will have specific content & columns
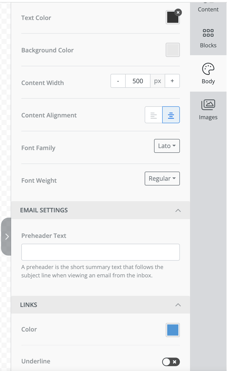
2.3 Body
This is where you set up your general template details.
-
Text colours
-
Background colour
-
Content width & Alignment
-
Font family
-
Link colours
Note that Preheader Text (in the body section) is really important as it corresponds to the Email preview that is used to visualize the beginning of the email before opening The more text is included, the better it is (between 80 to 100 characters) to ensure having nice emails
2.4 Images
You can add pictures, set up alignment, links, etc. It is possible to add an image to a "box" made for this effect and not in a "text" box 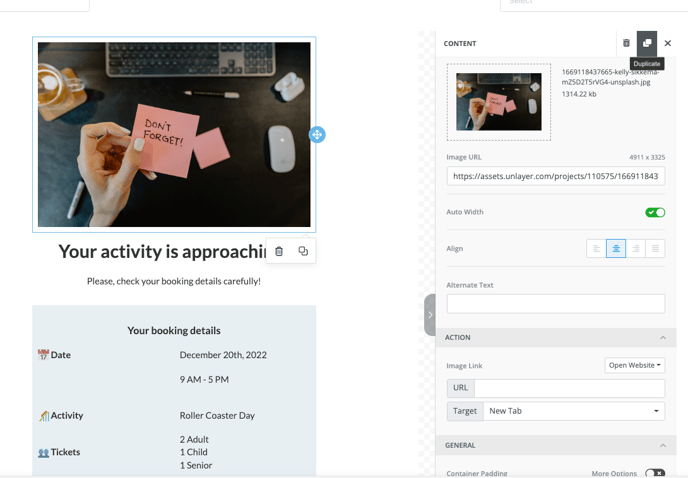
3. See your campaign results
From a specific campaign
To check stats for a specific email campaign, click on Marketing > Email > click on a created campaign > a pop-up will appear.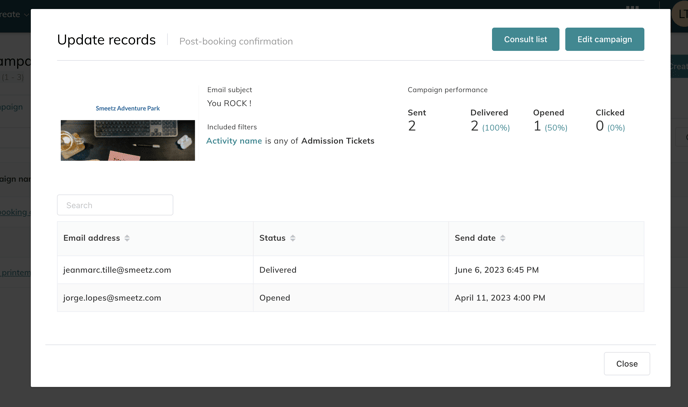
- Information
- You will see the email subject and filters
- Stats
- You will see the campaign performance (sent, delivered, opened, clicked)
- Actions
- You can consult the list of recipients (either in the section at the bottom or click on the top-right button and a recipient list will open)
- You can edit the campaign
From dashboards
Go to Analytics > Marketing > Automated email campaigns
- Campaign performance: you will see some general numbers about all your campaigns. You can select a specific campaign or a time period in the filters.

- Campaign performance details: you will see some specific numbers for all your campaigns. You can select a specific campaign in the filters.

- Recipient details: You can see the recipients for all of your campaigns. You can filter out by date/ status, etc.

- You can export this list by clicking on the 3 dots in the top-right

- You can export this list by clicking on the 3 dots in the top-right
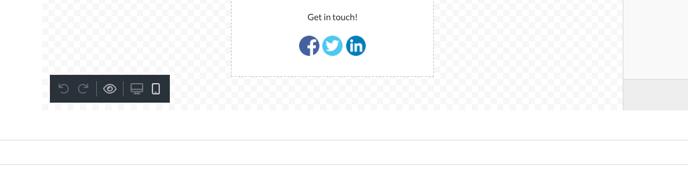
It is possible to view your email in desktop and mobile format.
Go to the bottom of the campaign creation page > click on the computer or phone in the black box in the left-side corner