This article will help you select filters to manage your lists.
A wide variety of filters are available to help you customise the following tables (non-exhaustive list):
- Customer table (under Marketing tab)
- Attendee list (under Orders tab)
- Completed orders (under Orders tab)
- Pending orders (under Orders tab)
- Product - Activity table (under Products tab)
1. Choose what information to show
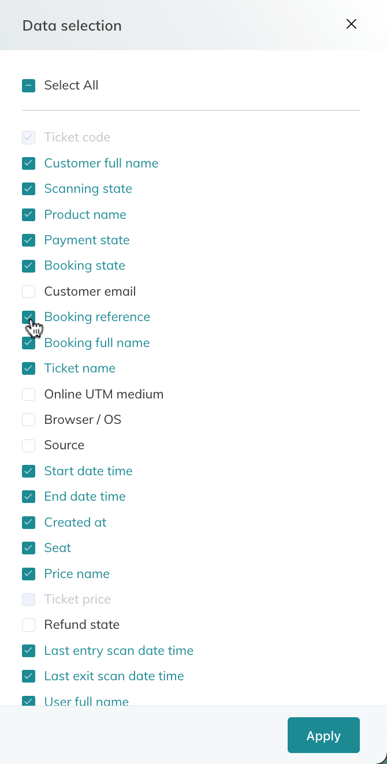
To get started, you can select the columns you want to see in your lists (ticket code, booking reference, activity name, etc).
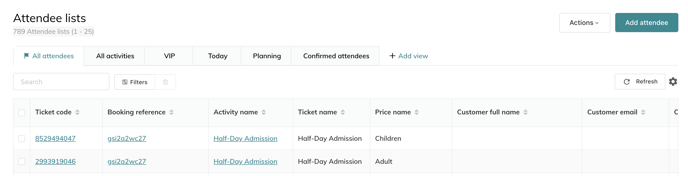
- For example to filter the Attendee List. Under Orders > select Attendee List.
- In the top right-hand corner of your screen is a gear icon.
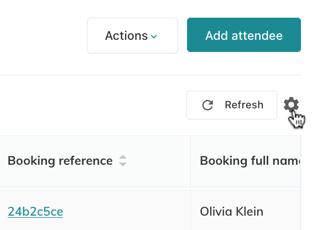
- When you click on it, all of the possible filters/columns will appear. You can check and uncheck each of the filters, leaving only the data that you wish to be displayed. Then click "Apply".
2. Create views with filters
Then, you can select what will be listed in your table. You can create specific views to only show customers coming today, or customers who booked a birthday or customers who live in a certain city, for example.
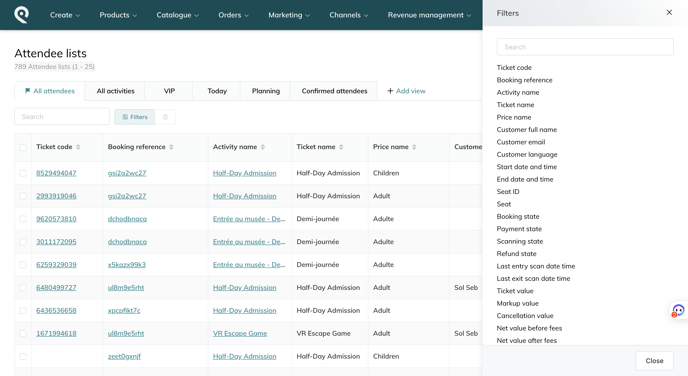
Here is an example with the "Attendee List" table.
- You can filter using any of the default properties by clicking on the "Filters" icon in the left corner of the screen as shown below:
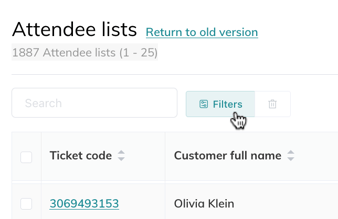
- The following list will appear:
- By clicking on any of these filters, you will then have the option to type in the values you are looking for (e.g. a list of city names, product names, etc). For example, you can filter for entries where the Customer's full name "is any of" 'John Smith'
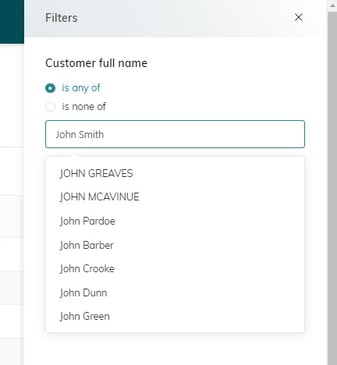
Note that the properties underneath the filters button will differ depending on which table you are viewing. The above example is the "Attendee list" table.