Once your activity product is created, you need to create tickets.
1. How to create tickets
After creating an activity you must create the tickets for this activity. Please follow the steps below:
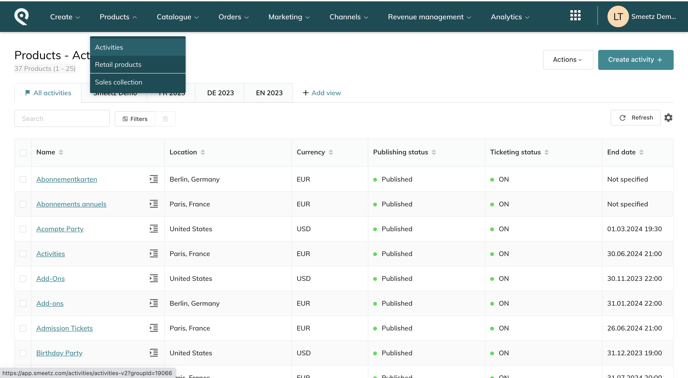
- Hover the cursor over Products > select Activities > then select the specific activity > select Tickets > create ticket

- Choose among these ticket types:
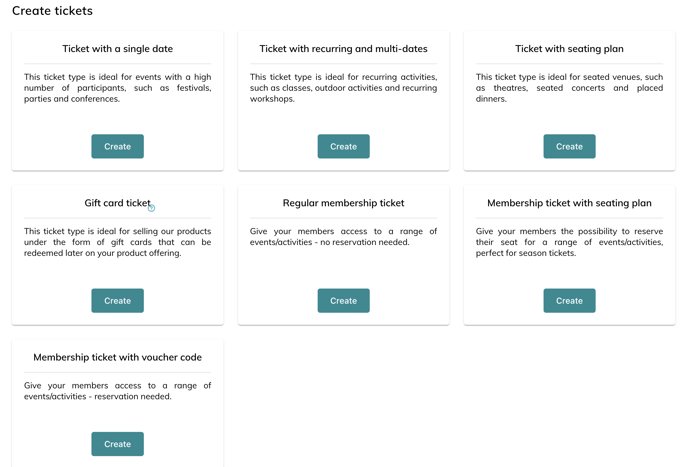
- Ticket with single date: ideal for a standalone activity/event that occurs on one day.
- Ticket with recurring and multi-dates: ideal for activities/events that occur frequently (e.g. daily; every Sunday).
- Ticket with seating plan: ideal for tickets that have a seating arrangement where customers can choose their seats.
- Gift card ticket: a ticket that functions as a gift card voucher
- Regular membership ticket: ideal for memberships that grant access to multiple events, seasonally.
- Membership ticket with seating plan: ideal to give your members the possibility to reserve a specific seat for a range of events/activities. Perfect for season tickets.
- Membership ticket with voucher code: Give your members access to a range of events/activities - reservation needed.
- Fill in the following fields
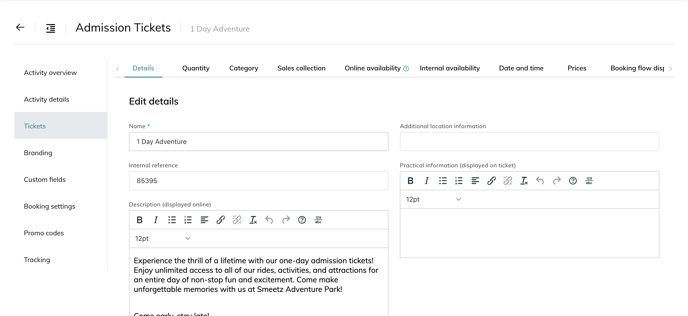
- General information
- Name of the ticket: e.g. general admission, VIP, weekend pass, etc.
- Internal reference: reference code for each individual ticket
- Description: this will be displayed online on the booking page
- Picture
- Additional location information: if it is necessary to give further information to help attendees find the venue.
- Practical information (displayed on ticket): if there is anything specific about the event which attendees need to know (e.g. 18+ years only)
- Quantity:
- Select the number of tickets available in total for sale for the specific activity.
- You may set a minimum and maximum ticket purchase threshold, per booking, by clicking on 'Quantity is limited per booking' and then setting the thresholds.
- Category:
- In the 'tags' box, you can categorise the ticket you have created (e.g. ticket, bundle addons, merchandising)
- Select a colour
- Sales collection:
- You can add the ticket to a relevant sales collection you may have already created. Sales collection is a category of products (e.g. F&B; Merchandise; Entry tickets, etc) under which relevant tickets/products will appear on your onsite point-of-sales system.
- Online availability:
- Select if the ticket is visible on the booking widget
- Here you can set the sorting order for where the ticket will be displayed in the booking flow (0 is top, 50 is bottom)
- Internal availability:
- Select if the ticket is visible on the POS
- Here you can set the sorting order for where the ticket will be displayed in the POS (0 is top, 50 is bottom)
- Date and time
- Door opening date and time
- Select if you display the start/end time on the booking flow
- Start time and end time of the event.
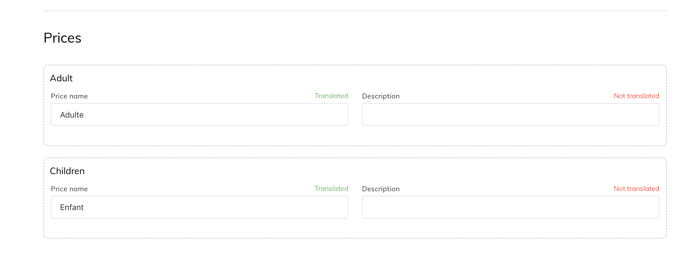
- Prices
- This is where you add all prices associated with the ticket (e.g. student, adult, child, etc, or just general admission if only one price) and determine the minimum and maximum order allowed per booking
- You can create new prices or select them from a pricing grid
- Charge flow and confirmation
- Determine when the booking should be confirmed and charged and if you would like some bookings to be confirmed by you. For more information please refer to this article.
- Purchase period
- Determine the start and end period of sales
- Scanning
- Determine how often you would like the ticket to be scanned
- General information
Once you have filled out all these fields, create your ticket.
2. How to complete your tickets with additional info
You will be redirected to the Ticket page, where you can select any ticket and add additional information or make modifications.
Click on the categories > Details / Quantity / Category, etc.
You can
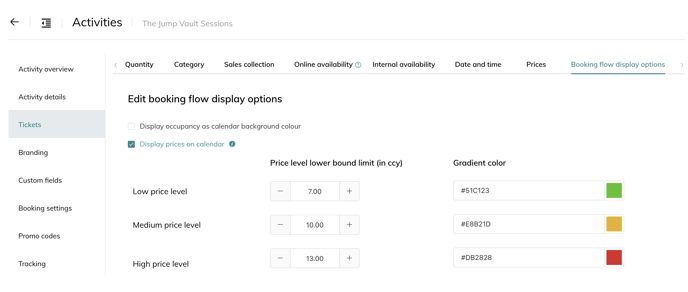
- Edit booking flow display options to show the price and/or colour based on occupancy on the booking flow
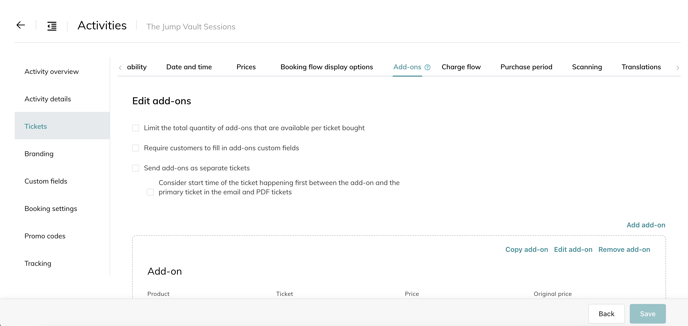
- Add add-ons
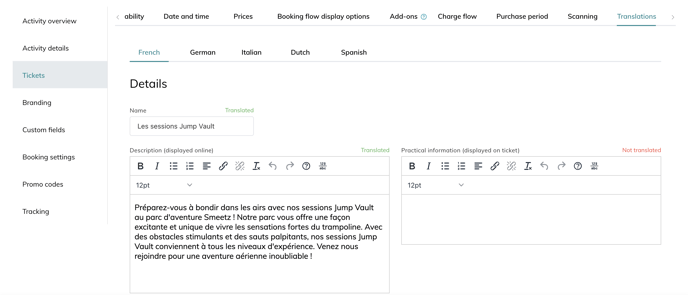
- Add translations for the description of the product and ticket. Always select the language and write the text.