This article explains how to install thermal printers to print tickets onsite.
1. Hardware installation
Carton Content
- Thermal printer
- Power cord (2-part)
- USB cable
- Connect the printer to a computer/POS screen using the USB cable
- Check that there is sufficient colour and paper in the printer. To insert the paper make sure that:
- The black mark is face down (cf. image below)

- The black mark needs to be aligned with the yellow sensor
- Place the ticket so that the black mark is towards you, (right before the opening) not towards the back of the machine

- The black mark is face down (cf. image below)
2. Software installation
- Check that the printer is correctly connected to your computer on PrintNode. Make sure that the status is "online".

If PrintNode shows offline, you can connect the printer by going on Windows Settings > search for Printers & Scanners > Refresh > Add device
3. Test your installation
Note that you need to enable ticket printing and select the right printer in the settings on the POS to be able to print tickets.
-
Login to the POS app
-
Make a simple order
-
Apply a cash payment
-
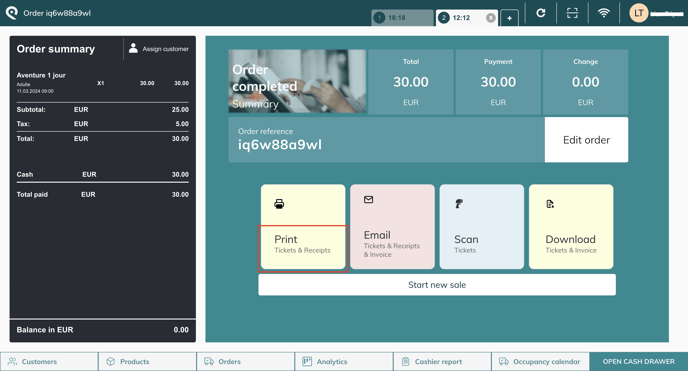
On the final page, click on “Print” & then “Only tickets”

- A ticket should be printed
