This article will help you to create, configure and implement pricing grids in your tickets.
1. The benefits of pricing grids
When you create a new product, you have the possibility to save time by directly assigning several pricing schemes created beforehand, and usable at will. For example, you can attach 3 different prices to a product in one go, by simply selecting the price list that matches the criteria.
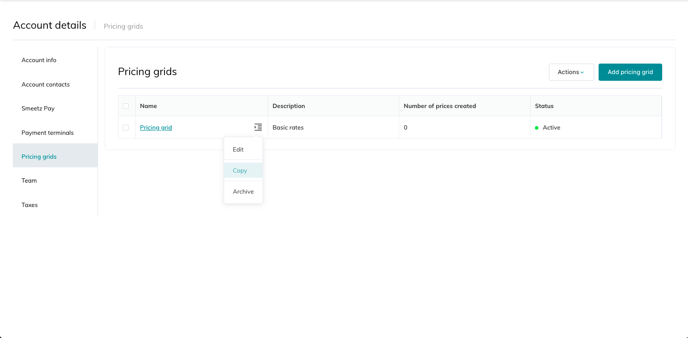
Please note that the price grids can be activated/deactivated and duplicated with a simple click.
2. How to create pricing grids
- Click on your initials > Account details
- Select Pricing grids > Click on add pricing grid
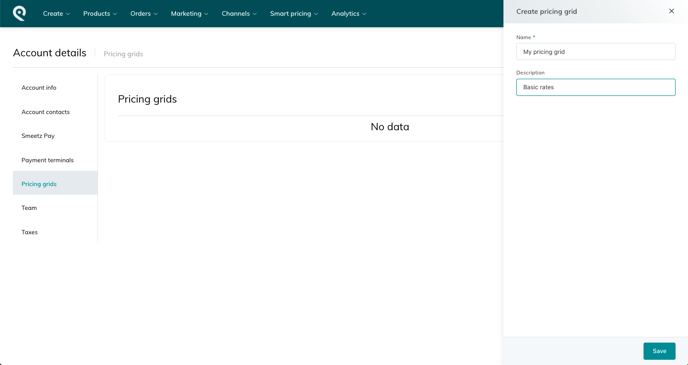
- A window will open on the right, here you can name your pricing grid and give it a description (this information is internal) :

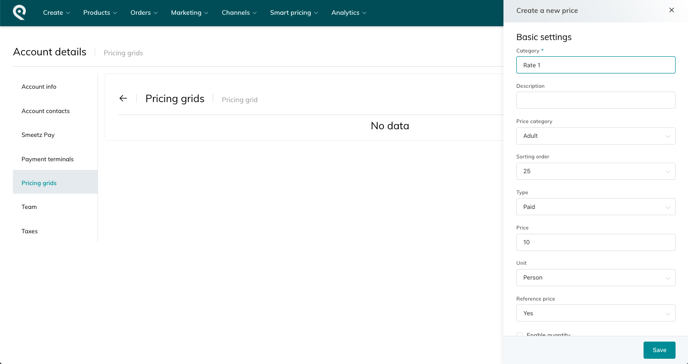
- Then select the new price list, then click on Add a price, the same window appears as when creating a ticket (add prices):

All you have to do now is to configure all the prices in your grid.
2.1 Copy and modify pricing grid
If you want to save time, you can also create several price lists and simply copy them, and change only the prices.

Dynamic pricing strategies cannot be applied to a pricing grid, it must be applied directly to the ticket configuration.
3. How to link your grid to a ticket
After creating your price lists, you simply need to link them to your existing or future tickets.
To do this you need to :
- Go to the tab Products > Tickets > Select the ticket to modify (if necessary) or the new ticket to create
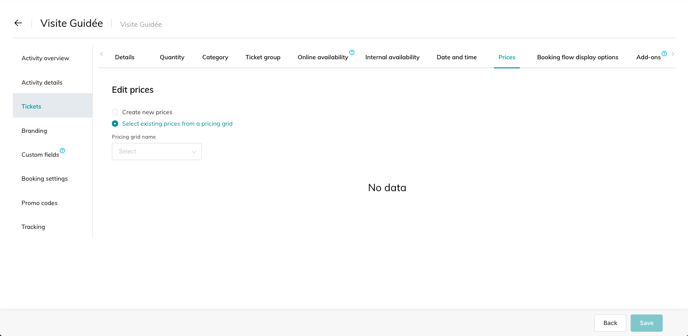
- Go to the tab Prices > click on Select existing prices from a pricing grid.

Once you have selected a pricing grid from the list, its prices will appear in the booking process exactly as they do when they are individually configured.
3.1 Disabling a pricing grid
To deactivate a pricing grid, simply go to the pricing grid section > action (activated or deactivated).
